Refrigerator Pickles ~ My New Favorite Way to Eat Any Veggie

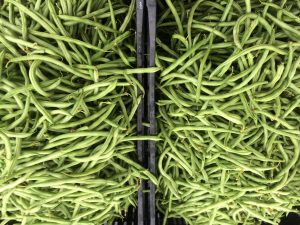
Green beans are great pickled. You can pickle just about anything –except leafy greens.
If you’ve ever been a part of a CSA, you know that there are times of the season that vegetables start to stockpile.
Yes, it happens even to me — the farmer’s wife.
Every year, it’s something different.
This year, it’s carrots and beets. Last year it was peppers.
And when my life is going 100 mph as a farmer family, I just need a quick way to get rid of the bags and bags of produce.
Cuz I hate the guilt that comes with the compost pile.
Two weeks ago, before we took off on our vacation, I had CSA Master Elizabeth Tore over to my house, and she introduced me to a concept called “refrigerator pickles” as a way to get rid of stockpiling produce.
This training was so ground-breaking for me, that I had to feature it in my blog for the week — even though the training happened a few weeks ago. I didn’t want this to get lost in the shuffle.
Now I’ve done refrigerator pickles before.
If you’re a canner, you know there are a TON of recipes out there for canning refrigerator pickles that involve making the brine and pouring it over the cold or hot packed veggies ~ then letting them seal naturally without processing ~ then putting them in your fridge for long-term storage.

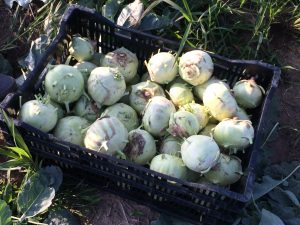
People often wonder what to do with kohlrabi. Let me tell you… pickle them using this formula. Holy hannah. Pickle them.
But what Elizabeth taught me was different.
See I was trapped in this idea that you had to follow a tried and true “recipe” for refrigerator pickles, which kind of takes the “fun” and experimentation out of it for me.
But E’s video training instead taught us the basic “template” for making pickles. Call it a formula.
With lots of room for creativity.
Okay… slight change in subject.
Have you ever had “garbage pizza”?
It’s Kurt’s favorite kind, especially at a local haunt called Blackberry Corners. And although I think it’s a terrible product name for marketing purposes, the concept is brilliant:
Take a bunch of your leftover “garbage” veggies and throw them on a pizza crust. A perfect way to use up things stockpiling in your fridge or countertop.
Well… after taking E’s video class, I feel like I learned a formula for “garbage pickles.”
And OMG, they taste INCREDIBLE.
I mean, you can pickle just about anything — even the stuff you hate eating. And it will taste good.
In a matter of 15 minutes, we had created three batches of pickled veggies, including:
- a corn, onion, tomato, jalapeno relish
- a red onion condiment for hamburgers
- a tomato, kohlrabi, turnip, carrot, garlic, onion, pepper mish-mosh with Fatoush spices
Oh, and I was able to eat them the next day.

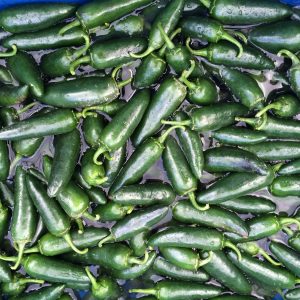
Jalapenos are such a great addition to a refrigerator pickle medley. Keep the ribs and seeds in for added heat.
So here’s the big deal: I’m not a fan of turnips or beets. (Shhh… don’t tell).
But when put inside this pickle formula, I loved them. LOVED them.
BOOM. I just found my sure-fire vegetable exit strategy.
So how does it work?
Step 1: Get your supplies.
You’ll need sugar, vinegar, veggies, a knife, cutting board, saucepan, some salt, seasonings to taste, and a Mason jar and lid (an old lid is fine).
Notice I didn’t mention any measuring cups or spoons.
Step 2. Make the brine.
The brine is 1 part vinegar to 1 part sugar. We like to use apple cider vinegar. But play around with the taste and experiment here. Heat this brine up on the stove so that the sugar dissolves. (or use your microwave). Make as much as you need to fill up all the jars I know you’re going to start making with this golden elixir.
Step 3. Decide on your veggies. Chop them up.
This is where the fun happens. Get creative and add in pretty much whatever you want. Root vegetables are ideal for this. Carrots, turnips, radishes, kohlrabi, beets. You can also add celery, tomatoes, garlic, onions, peppers, cabbage, corn, summer squash, beans, cukes, tomatillos.
The only thing you can’t add to a pickle recipe is anything from the greens family.
Chop to desired size. Really crunchy raw veggies will taste more pickly if you chop them smaller. Add them to the jar.
To watch the video training with me and Elizabeth in my kitchen, you can join the Membership Academy and get monthly videos like this all year long.
Step 4: Add some salt and seasonings.
I added about a teaspoon of kosher salt to the pint jar, but E said you can add more if you want. Play around with the taste. Then add in your dried herbs/seasonings. We had mustard seed, dill seed, celery seed, whole peppercorns. I watched in fascination as Elizabeth literally just threw it in.
“How much was that?” I asked.
“Oh! Whatever you want!” she replied.
(See, we didn’t use any measuring spoons).
It’s really that fluid. (It was about a teaspoon for a pint for those of you who want rough ballpark figures).

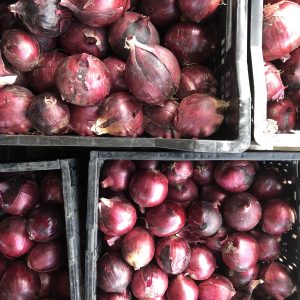
I wanted a jar of pickled red onions to use as a hamburger condiment. It did not disappoint.
The seasonings are where you really see the flavors pop the next morning when you try it out. So don’t be afraid to experiment and get to know your spice cabinet here.
Step 5: Pour the brine over the stuff in the jar. Seal. Put in fridge overnight.
I’m not kidding. That’s it.
No processing. No canners. Just put it in the fridge.
And the best part is that you only have to wait 12 hours. The next day, you’ll want to eat the whole jar.
These beauties will last for 6 months or more in your fridge.
Better make some space, because this is about to become your favorite new way to get rid of unwanted veggies.
